After I spent well, maybe 4 hrs. total
working on an art canvas...
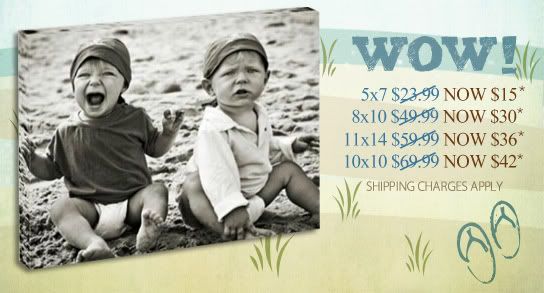
I find this in my mailbox...
  Really? I think I may have spent $ 15... (but I doubt it...) and... mine is 12x12 has lots and lots of handmade accents | ||
| This email was sent by: Photobucket PO Box 13003, Denver, CO, 80201 | Photobucket Privacy Policy | ||
Unsubscribe me from this mailing list |
See--here's mine...
You, too, can do this!
Purchase the blank canvas at
your local craft store-
use those 40-50% off coupons...
Then I inked my canvas with distress ink---
coated the back of my designer paper with Modge Podge
and stuck it down.
Let that dry.
At least 20 minutes.
Then put another coat on top to seal that layer.
Got it?
Ok-
now add the next layer
and repeat the steps above...
Keep going...
until all layers are adhered.
Now-
I interupt this "how to" with a tip...
I distressed one or two of my layers
and wanted that dimension to stay--
so I simply avoided putting Modge Podge on those layers
or edges that I wanted to stick up.
Easy-Peasy.
Now take your
PHOTO you had printed
at your favorite photo print place
(I have a Canon printer-prints from my printer
run when the MP hits it---photo shop prints only here...)
and add it the same way you did your papers.
(Yes, the streaks from the brush you use
will show some-so be gentle and careful..
but unless someone takes a flashlight directly to it...
is it REALLY going to matter?!)
Then add all the FUN embellishments...
all those hand-made roses--
the popped up "MEMORIES"
(oh yeah--POP DOTS HERE, baby!)
and the bow!
DONE!
The Queen of Vintage gave her stamp of approval
(Thanks, Theresa!)
we'll see how the (belated) birthday girl likes it tomorrow--
and hey,
mine is MUCH BETTER
for the cost!
Until next time-
happy stamping and scrapping!
Blessings,
Blessings,


It's gorgeous! Very well done!
ReplyDeleteThat is beautiful - love those flowers - perfect
ReplyDeleteSarah x